
Paint An Autumn Path Watercolour Scene
Paint An Autumn Path Watercolour Scene
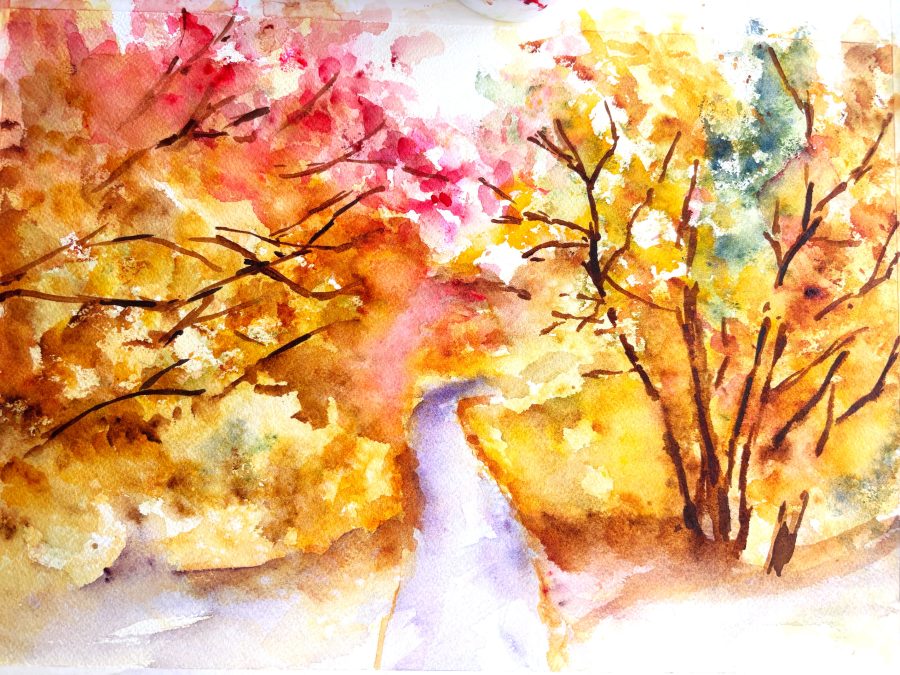
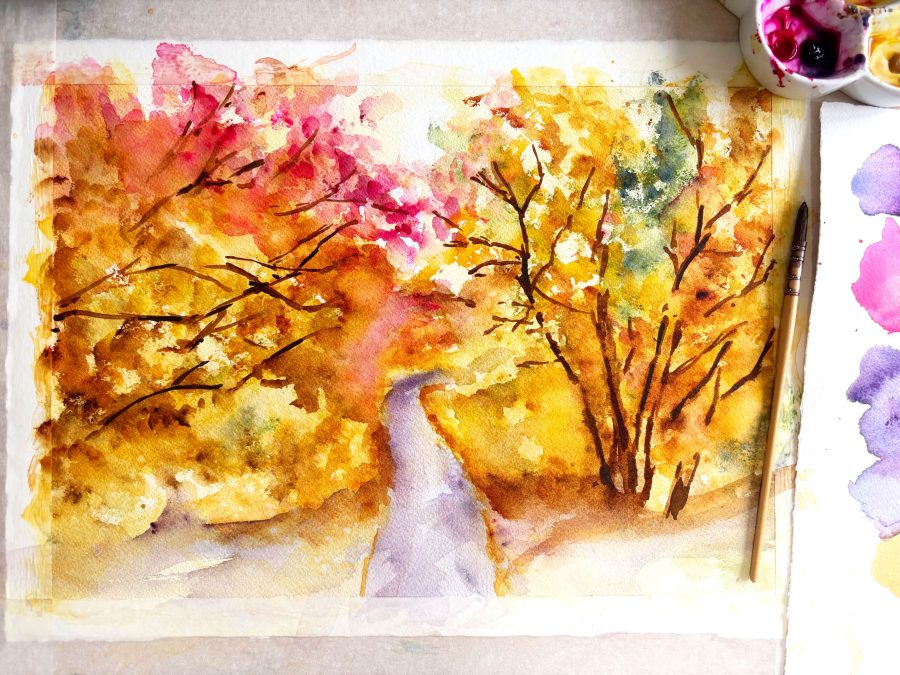
As the leaves turn and the air gets crisp, it’s the perfect time to capture the golden glow of autumn in watercolour! This month, we’ll explore how to paint a loose, expressive autumn tree pathway scene that celebrates the season’s rich colours — without getting caught up in too much detail.
What you’ll need:
Always remember, If you don’t have the equipment and paints I have, you can be really creative and use what you do have.
- I worked from real life autumn leaves, berries and nuts – if you’d like to use the same reference photo you can download the PDF photo/s to refer to within the class video area.
- Paper: 300gsm Arches (140lb) cold pressed watercolour paper or a sketchbook.
- My sheet size is: 27x38cm (11×15 inch)
- Masking Tape – To tape down the edges to my paper for a crisp edge finish (and perfect for framing).
- Brushes: Jennifer Rose size 10/0 and 0 mop brush. Link here: https://www.rosemaryandco.com/
jennifer-rose-mop. - Kitchen towel (to dab off any excess water) and to create shapes
- Water in a pot
- A scrap of paper to practice and mix your colours with by your side.
-
Windsor & Newton and Daniel Smith Paints:
- Winsor Lemon – W&N
- Gamboge Yellow– Daniel Smith
- Quinacridone Gold – Daniel Smith
- Pyrrole Red– W&N – lovely and vibrant!
- Rose Of Ultramarine – Daniel Smith (A touch of)
- Permanent Rose – W&N
- Opera Rose– W&N
- French Of Ultramarine– W&N
- Burnt Sienna – Daniel Smith
- Burnt Umber – W&N
- Yellow Ochre – W&N
- Sap Green- W&N
- Olive Green- W&N
- Lamp Black- W&N
- 1. Outline your pathway: – Lightly sketch with an HB pencil a simple winding path leading into the distance. This is the only part I outlined to keep on track.
- 2. Wet the background and create a soft wash: Mix a warm light golden yellow (Quinacridone Gold and Winsor lemon). Using a larger paintbrush to cover the area quickly, paint a soft wash to the background indicating the first lightest layer to the foliage. Allow areas of white to come through for the sky. Leave to dry semi dry and lightly drop in some burnt sienna to begin increasing the foliage areas.

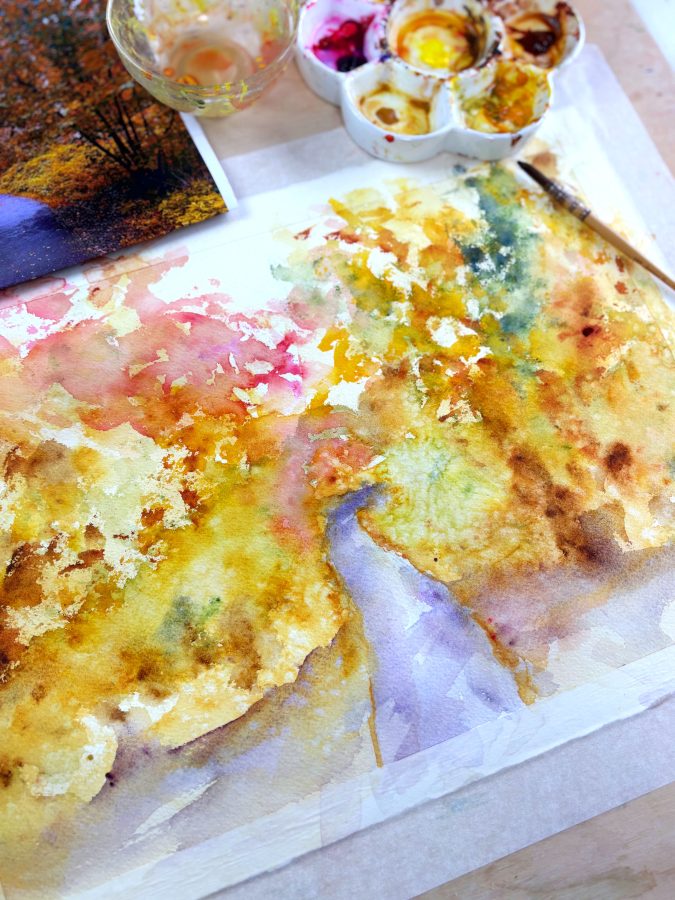
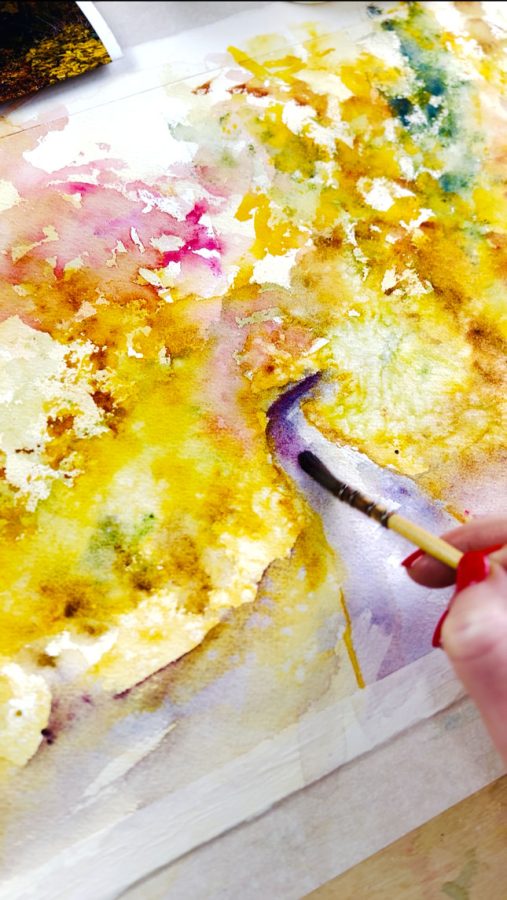
3. Background & Path Base: Paint a soft wash for the path with a purple shade, and surrounding foreground. Keep the centre of the path light for perspective and play close attention to where the shadows fall. This will really enhance the light capture and depth to your painting.
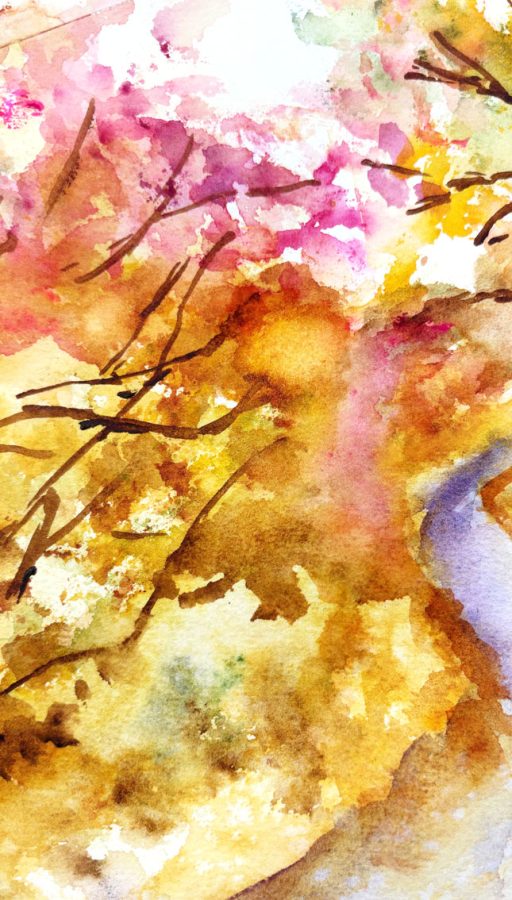
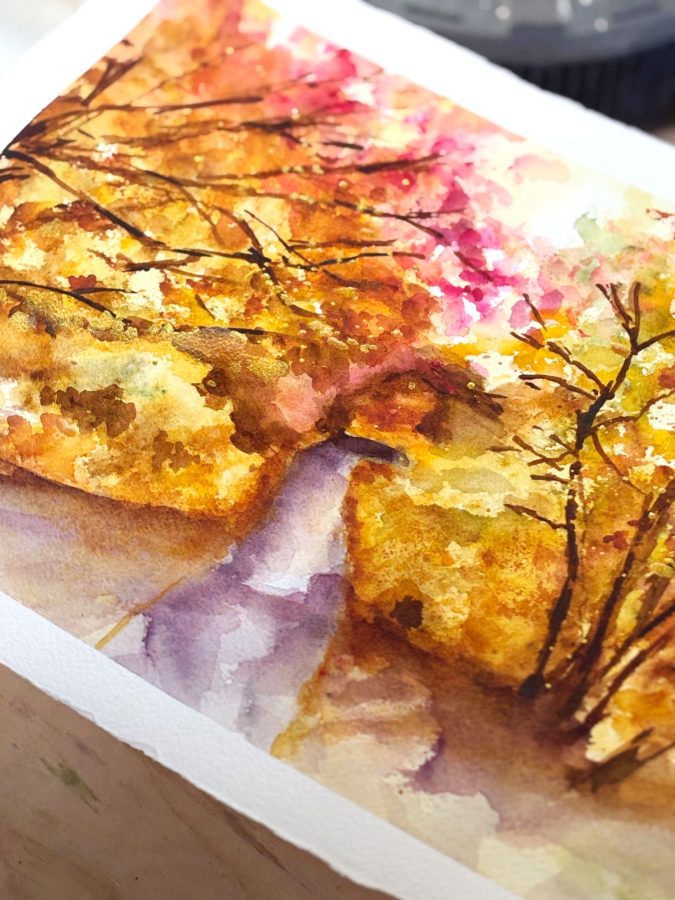
4. Foliage Layers: Continue building up the background foliage using a dabbing motion with your paintbrush and include reds, oranges, greens and yellows to create the various tree colours and foliage shapes. I dropped in some salt into my watercolour to create added bloom effects (optional). Leave to fully dry to see the effects.
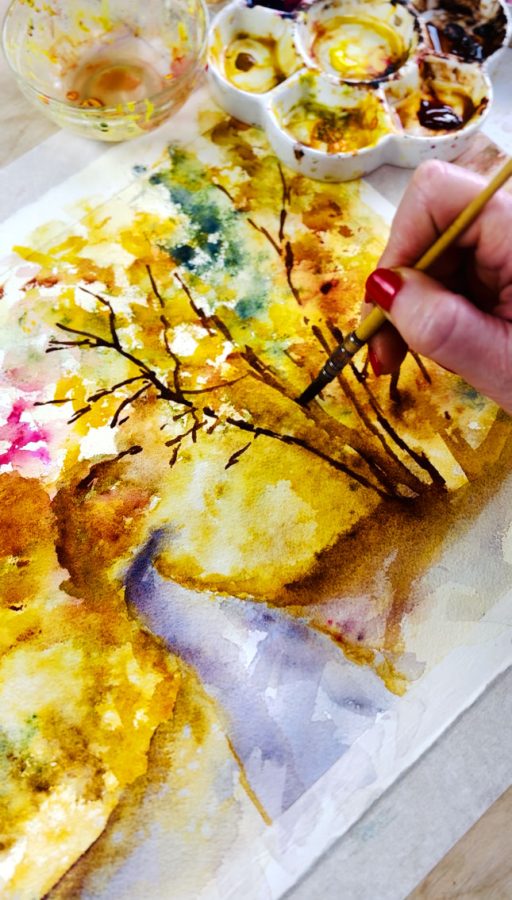
5. Tree Trunks & Major Branches: Using a smaller brush, gently begin to paint in some of the branches and tree trunks leaving gaps between the branches . This gives the impression that some are hidden behind the trees own foliage. You’ll notice your painting really coming to life at this point!

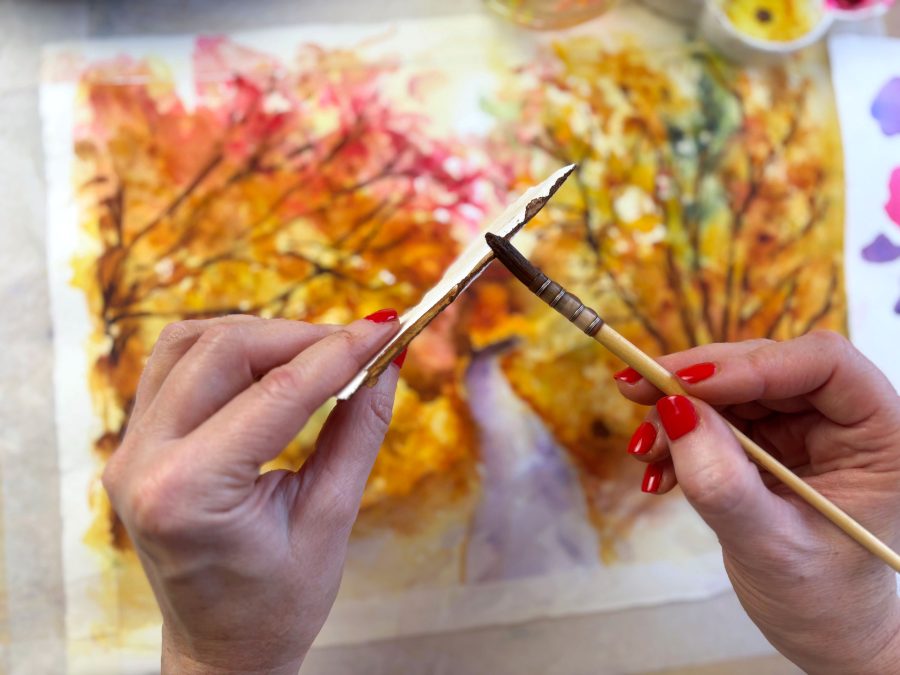
6. Add additional Texture: Using a section of a scrap piece of paper lightly paint along a small section with some brown paint (pictured below) and dab the edge to create additional branches. This creates a rugged effect, and as the paint fades from the dabbing, it gives the illusion of branches in the background.
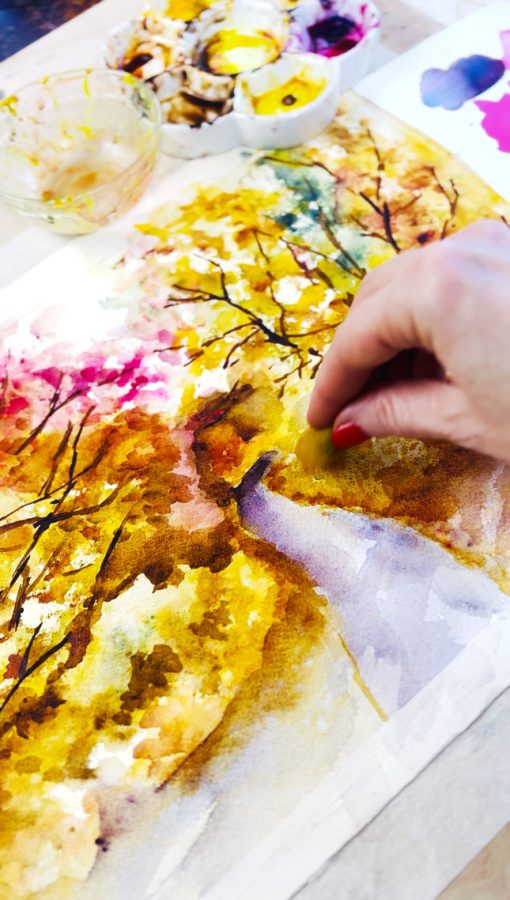

7. Final Touches: Once dry, dab or tap in stronger, more saturated autumn colours for foreground leaves using your paintbrush and a torn off section of sponge to create lots more texture and easy detailing to your painting. Include some last shadows to the pathway and additional tones where you’d like to create more depth. Finally, lift the masking tape fully to reveal a crisp edge to your beautiful autumn pathway painting.
Tips for keeping things loose:
- Work light to dark, and big to small.
- Let water and colour flow naturally; embrace soft edges.
- Save a few crisp edges in key areas to guide the eye along the path.
- Don’t over-detail — suggestion creates charm and atmosphere.
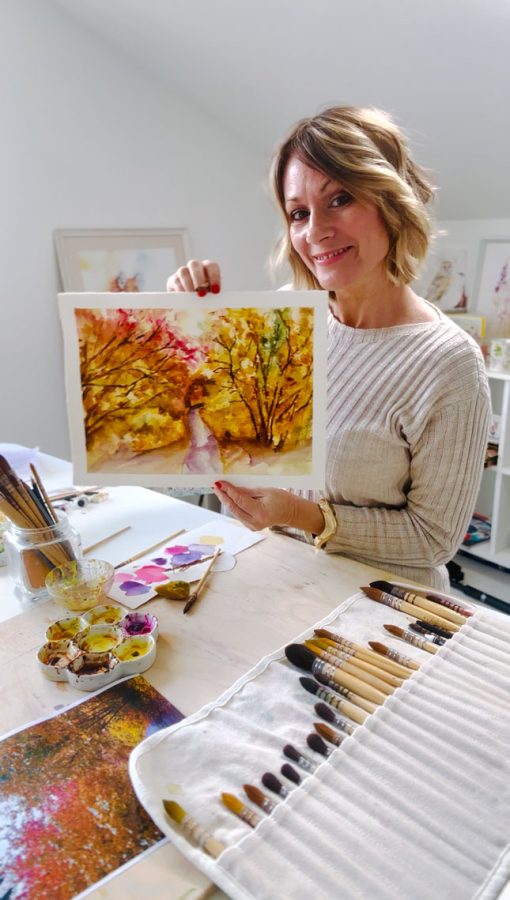
Want to follow this painting process in real time?
This full length Loose watercolour autumn class is available in my watercolour library —A perfect way to capture this season — playful, expressive, and full of life.
You can find this class and others here: https://jenniferrose.art/paint-watercolours-with-me/
With warmth and inspiration,

Leave Your Thoughts
Sign up to be able to leave your comments and thoughts.
Login
Register
The information that you provide here will only be used to deliver relevant updates from me. You can unsubscribe at any time. Click HERE for my privacy policy.